Croton spider mites
Spider mites are almost invisible individually, so they are usually found by their damage: a fine pale speckling across a croton leaf that no watering problem produces. They breed fastest in warm dry air, which is why they arrive in winter.
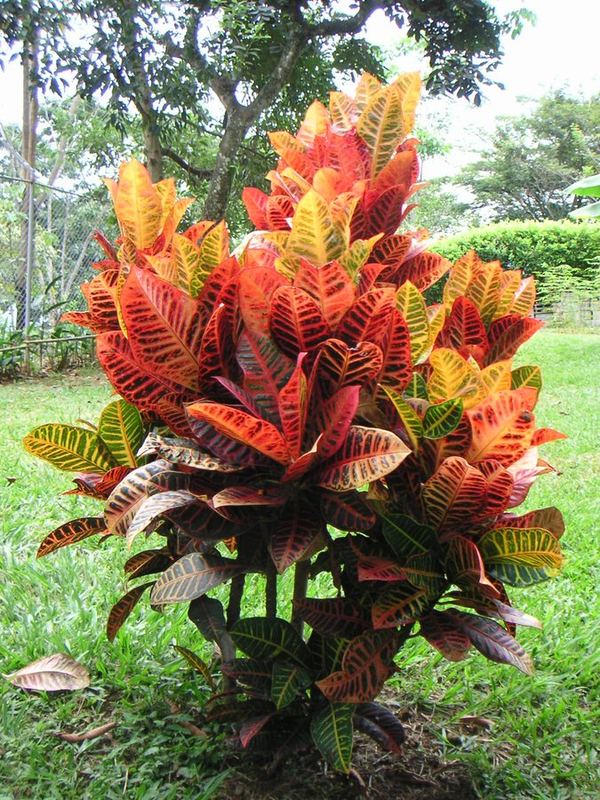
What is specific to this plant
- Crotons drop leaves at any disturbance: a move, a draught, a cold delivery van. Losing leaves in the fortnight after arriving is expected.
- The colour is made by light. In a dim spot new growth comes in plain green, and that is the earliest sign it needs more.
- Dry indoor air plus a stressed croton is a reliable recipe for spider mites.
What it could be, and how to tell
These look alike in a photograph, so each one below lists what you would ALSO see if that is the cause. Work down the list and stop at the one where the other symptoms match too.
1. Mites arriving on a plant already stressed by a move
What else you would see
- fine stippling appearing weeks after the plant arrived
- the plant already thinned by post-move leaf drop
- webbing in the leaf joints and at the growing tips
- a warm dry room, especially in winter
What to do
- Rinse the whole plant thoroughly, undersides included, and repeat every few days.
- Raise the humidity, which addresses both the mites and the post-move stress.
- Hold off feeding and repotting until the plant is stable.
- If you choose a treatment product, follow its label exactly. The label is the legal instruction and it overrides anything written here.
2. Spider mites
What else you would see
- fine pale stippling or speckling across the leaf rather than solid patches
- very fine webbing where the leaf meets the stem
- a dusty look to the underside of the leaf, worst in warm dry air
What to do
- Isolate the plant from your others straight away, before anything else.
- Rinse the leaves thoroughly, undersides included, with a strong spray of water, and repeat every few days. Mites breed faster than a single treatment can keep up with.
- Raise the humidity around the plant. Mites thrive in warm dry air and struggle in humid air.
- If you choose to use a treatment product, follow the label on it exactly. The label is the legal instruction and it overrides anything written here.
3. Dry air letting the population explode
What else you would see
- onset in winter, once the heating is on
- the plant sits near a radiator or a vent
- other plants nearby starting to show the same stippling
What to do
- Raise the humidity around the plant and move it away from the heat source.
- Rinse the foliage regularly. Physical removal is what keeps the numbers down between anything else you do.
4. Brought in on a new plant
What else you would see
- a new plant, a cutting or a bunch of flowers arrived in the last few weeks
- the worst affected plant is the newest one
- damage spreading outward from one plant to its neighbours
What to do
- Isolate anything new for a few weeks before it joins your other plants.
- Treat every plant that was standing near the affected one, not only the one showing damage.
Common questions
How do I confirm spider mites rather than dust?
Hold white paper under a leaf and tap it firmly. Dust sits still. Mites walk. That takes ten seconds and settles it.
Do I have to throw the plant away?
Rarely. Mites are beatable with persistence: isolate, rinse thoroughly and repeatedly, and raise the humidity. What fails is treating once and assuming it worked.
Will they spread to my other plants?
Yes, readily, especially where leaves touch. Isolate the affected plant first and check its neighbours before you treat anything.
Before you act on any of this
This is general plant care guidance for a plant, not advice about people or animals. We never tell you whether a plant is safe to eat or touch, and we never tell you a plant is safe for a child or a pet. If a child or animal may have eaten any part of a plant, contact Poison Control (US 1-800-222-1222) or a vet immediately rather than reading further.
Treatment advice here is deliberately category level. We do not give product names, mixing ratios or application intervals. Whatever the label on the product in your hand says is the instruction that counts, and following it is your responsibility.
Where this comes from
The general horticultural facts behind this differential come from published university extension and Royal Horticultural Society guidance. What is specific to this plant, and the order the causes are ranked in, is ours, and the methodology page says where that reasoning stops being reliable.
- Integrated Pest Management (I.P.M.) for Spider MitesClemson Cooperative Extension Home and Garden Information Center
- Spider MitesUC Statewide IPM Program, University of California
- Common Houseplant Insects and Related PestsClemson Cooperative Extension Home and Garden Information Center
- Diagnosing Houseplant Problems from Improper Environmental ConditionsIowa State University Extension and Outreach
- Glasshouse red spider miteRoyal Horticultural Society
Other croton problems
Not sure which one it is?
PlantRx is an iPhone app that reads the photo and gives you the same kind of ranked differential you just read, for your plant specifically, with the evidence it based each answer on. The first diagnosis is free, in full. There is no subscription and no account.